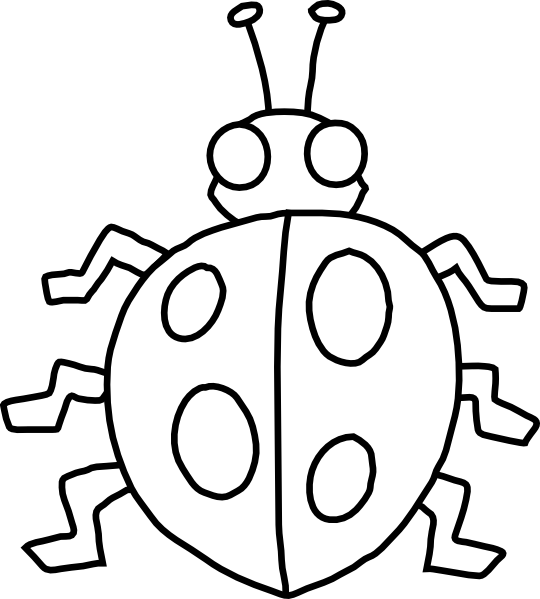
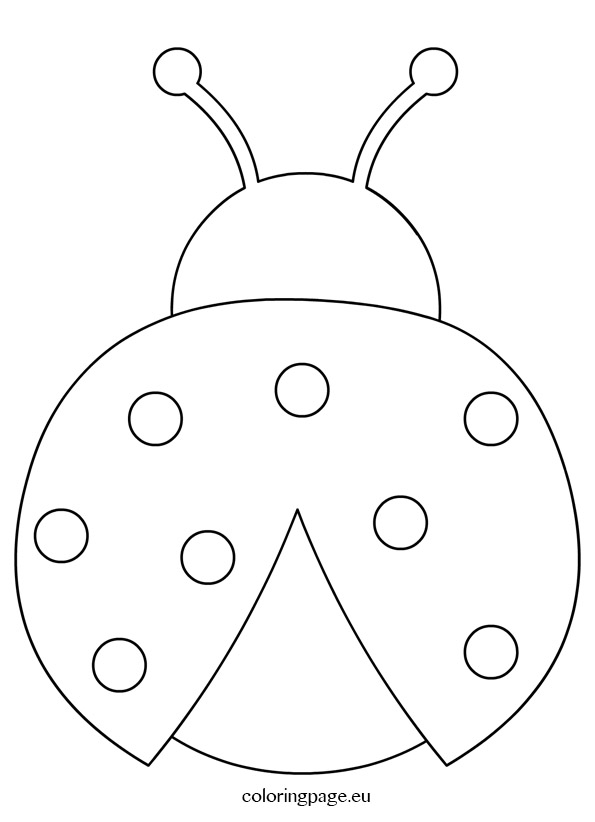
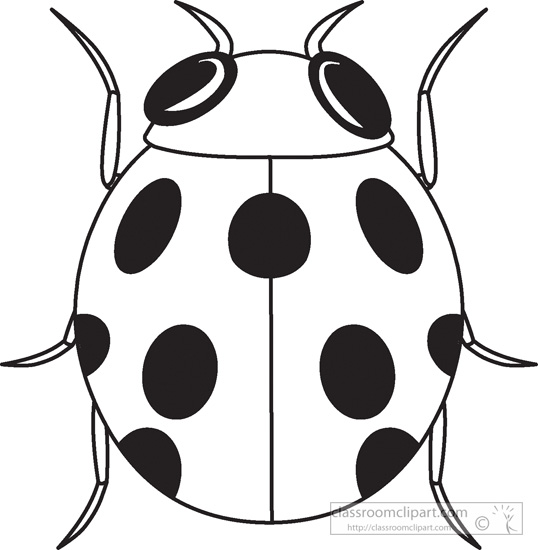
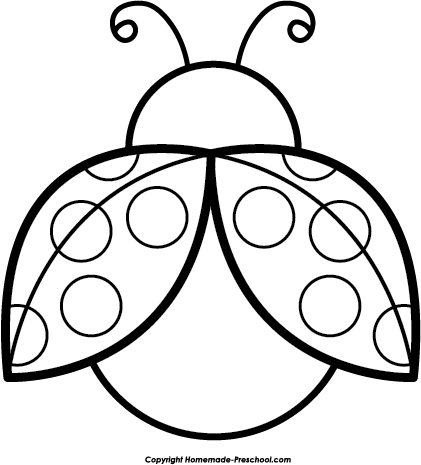
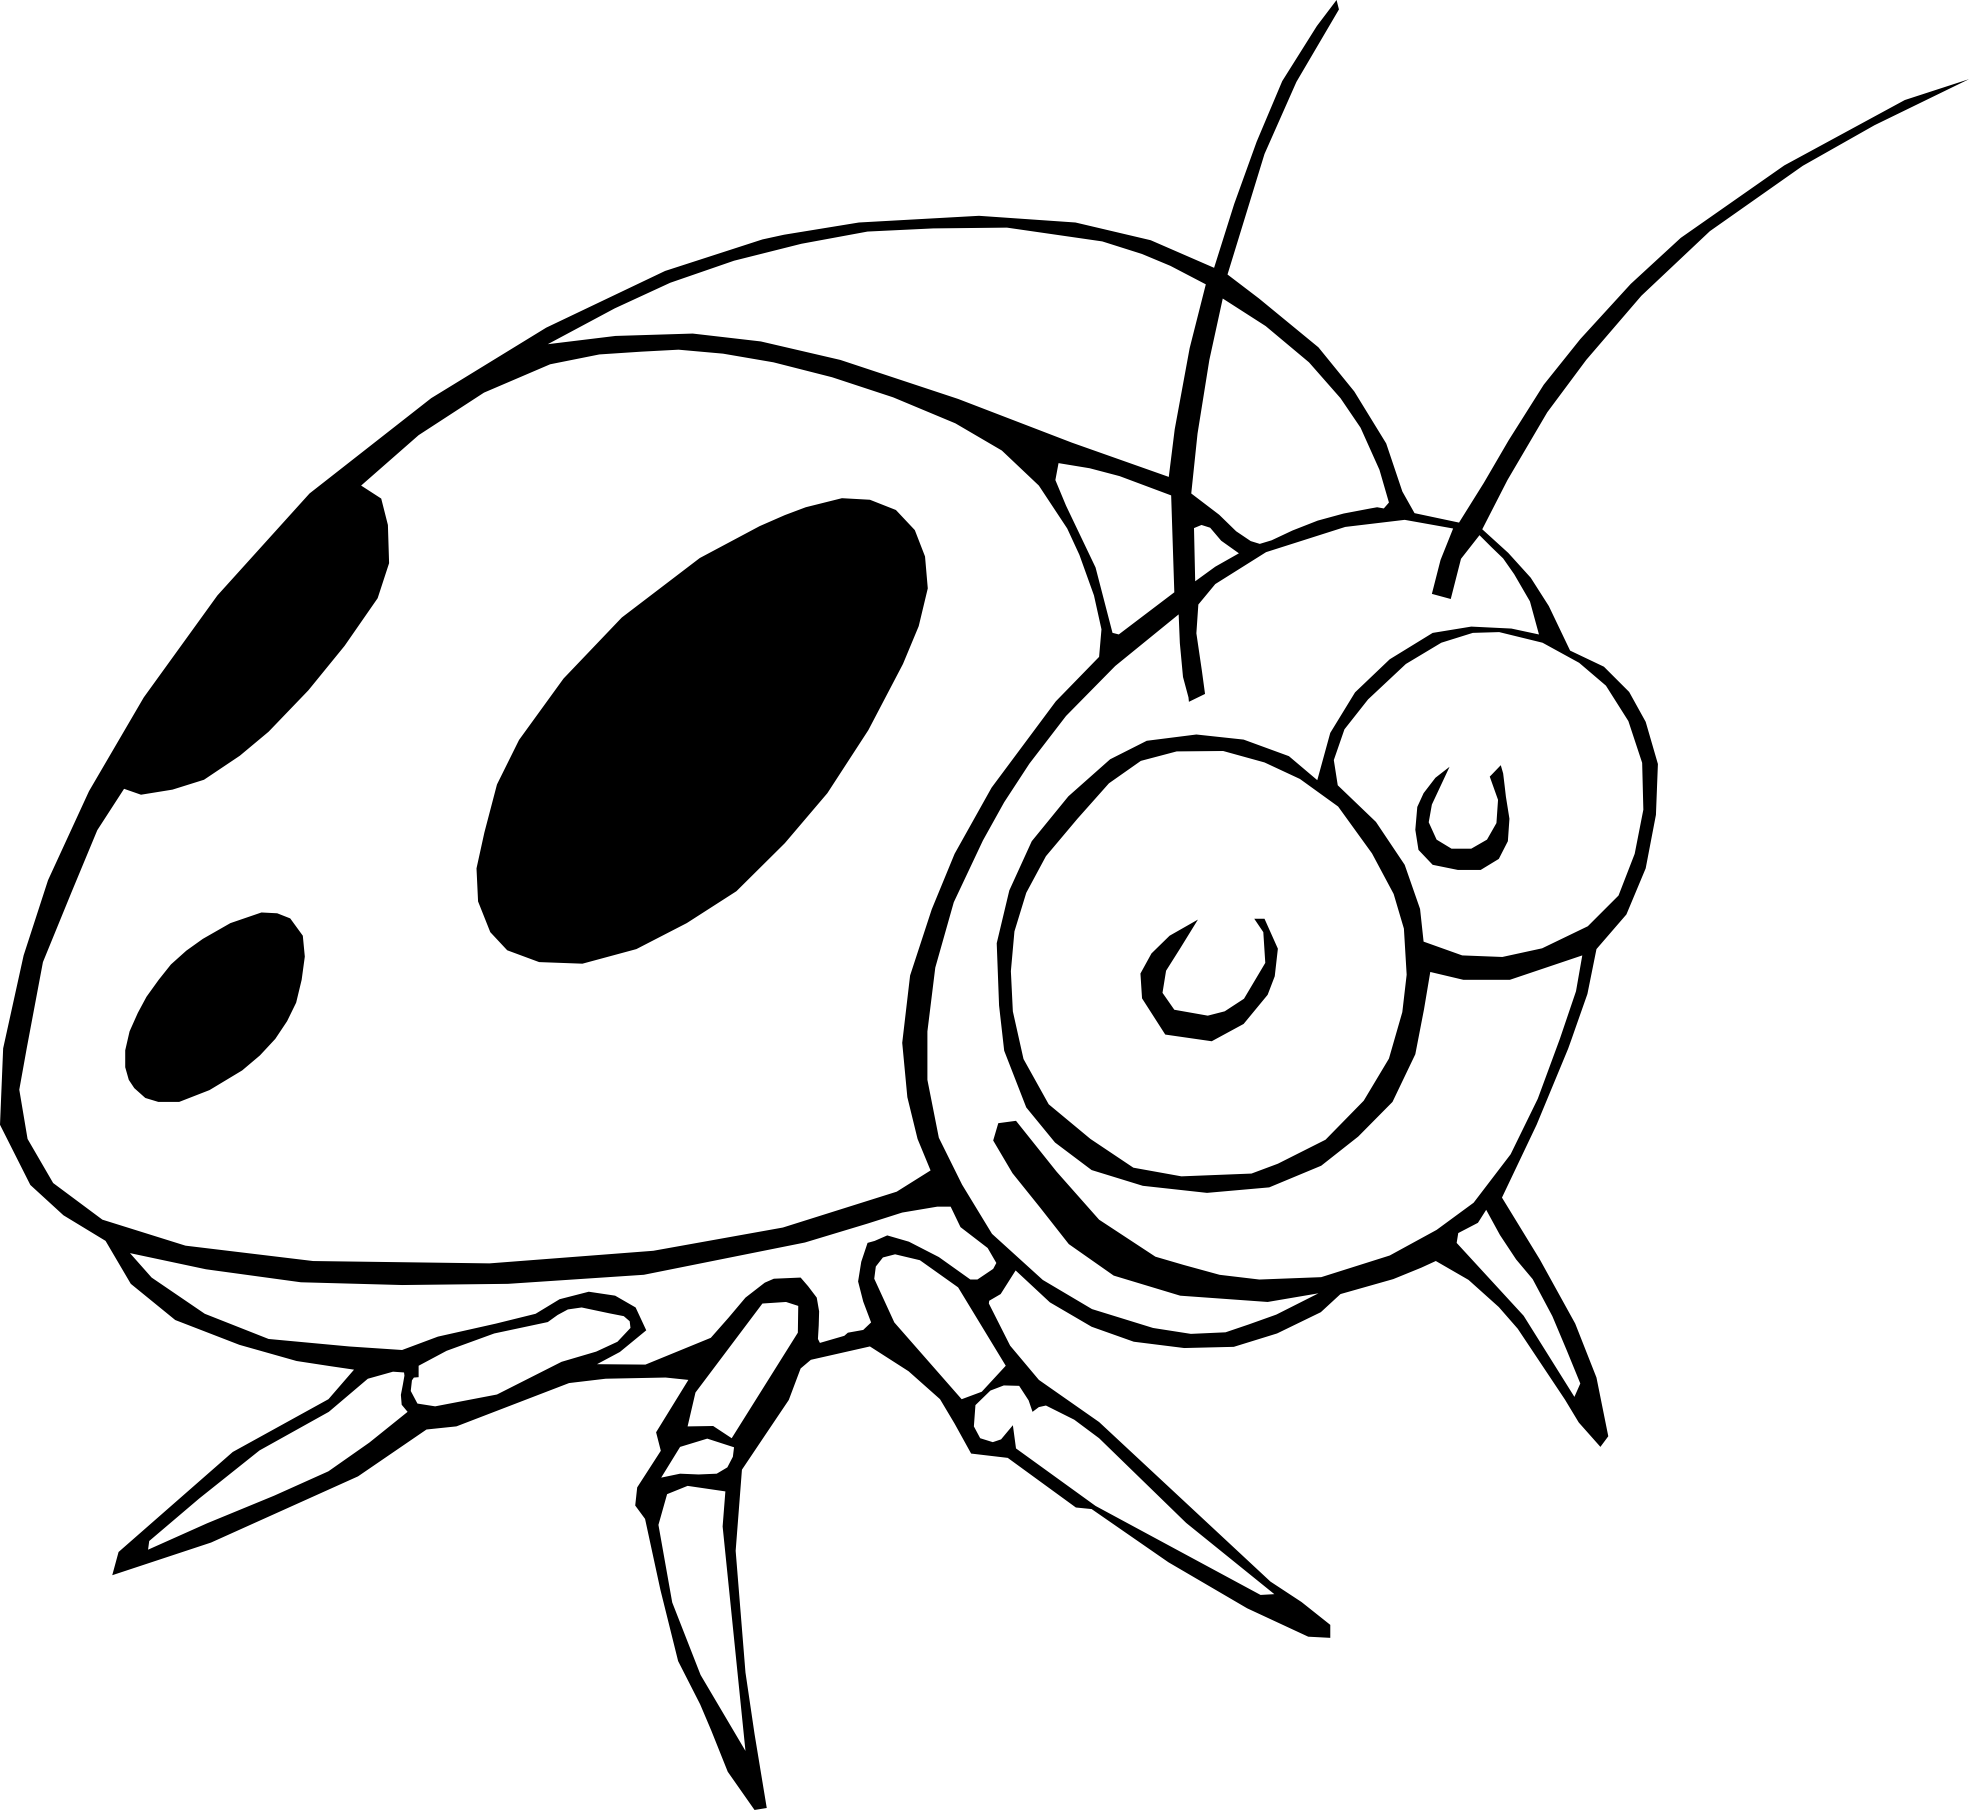
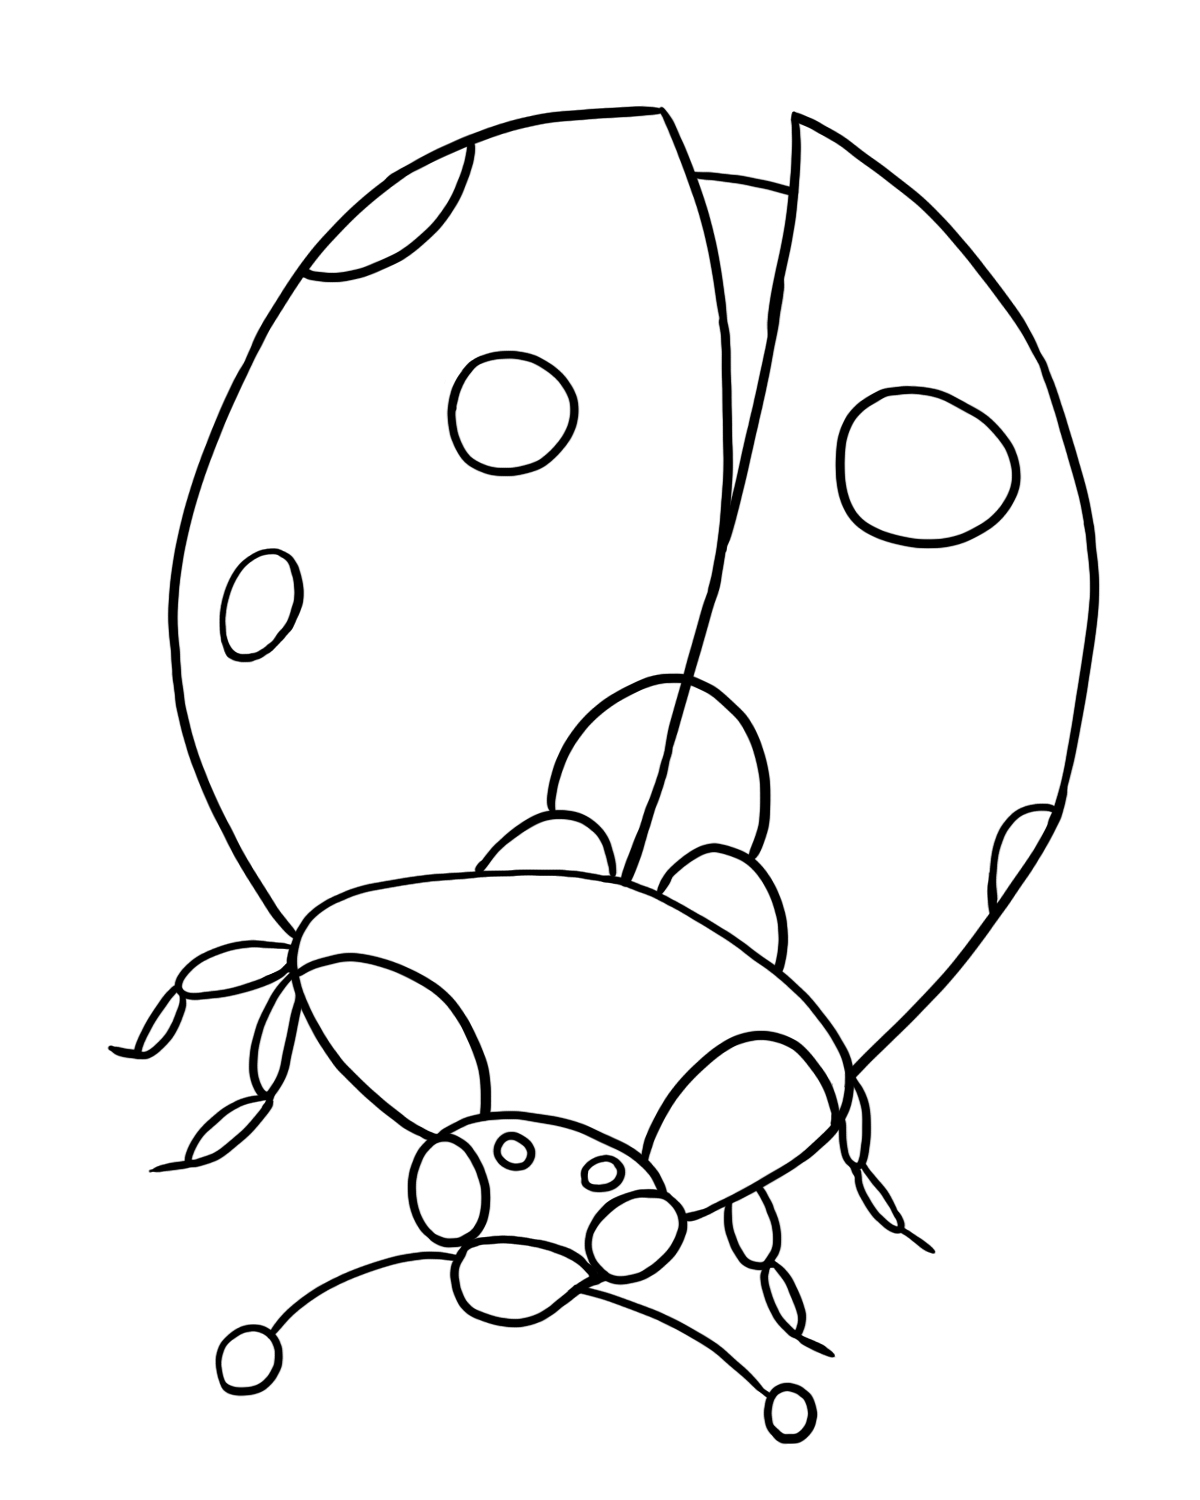
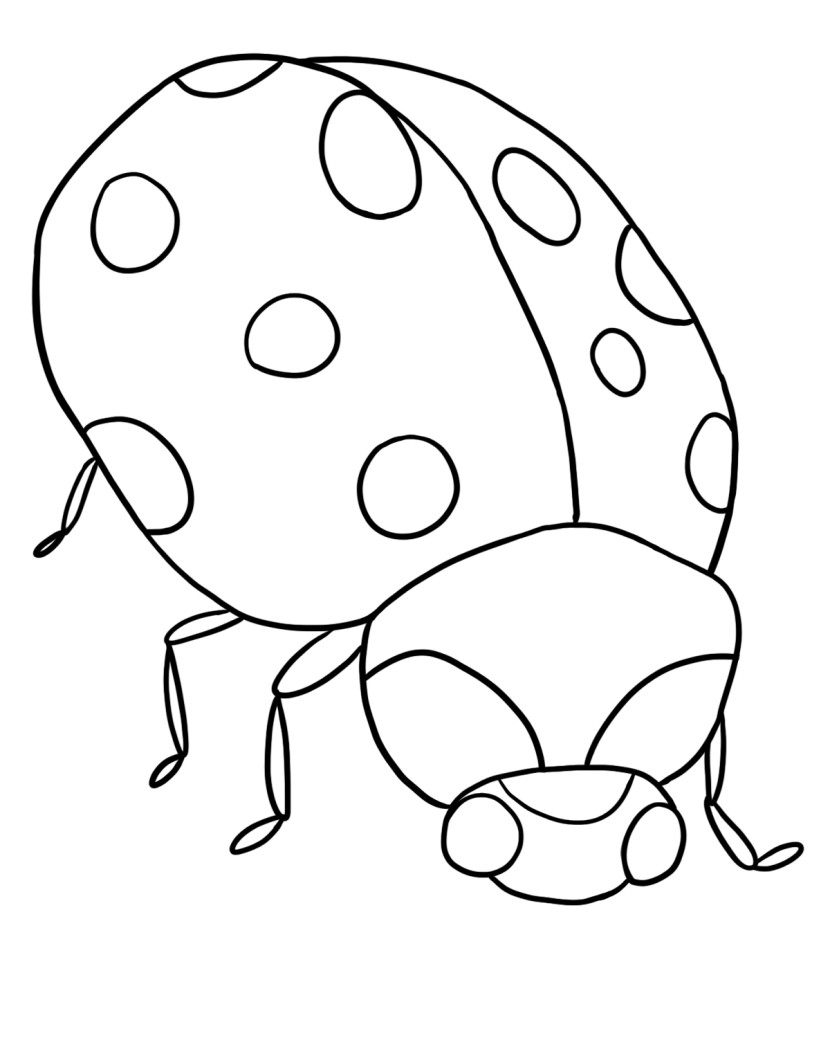
Ladybug Outline Clipart
Ladybug Drawing – A Step by Step Guide
Drawing Ladybugs can be fun and easy. These beloved bugs are cute and can add color and life to your sketches and art pieces. They are a great subject for beginners and experts alike. With their signature black spots and brightly colored carapaces, Ladybug illustrations can be easily recognized and enjoyed by all.
In this article, we’ll provide a step-by-step guide on how to draw ladybugs. We’ll start with the basic shape of the bug and show you how to add all the unique details that make ladybugs so delightful to look at.
Getting Started
Before you start drawing, you’ll need a few supplies. A clean and crisp piece of paper, a sharpened pencil, and some colored pencils or markers of your choice. You can also use your tablet or any digital art software you’re comfortable with.
First, it’s important to remember that drawing requires practice. Don’t get discouraged if your ladybugs don’t look perfect on the first try. Just keep practicing and let your creativity flow.
Step One: Draw the Body
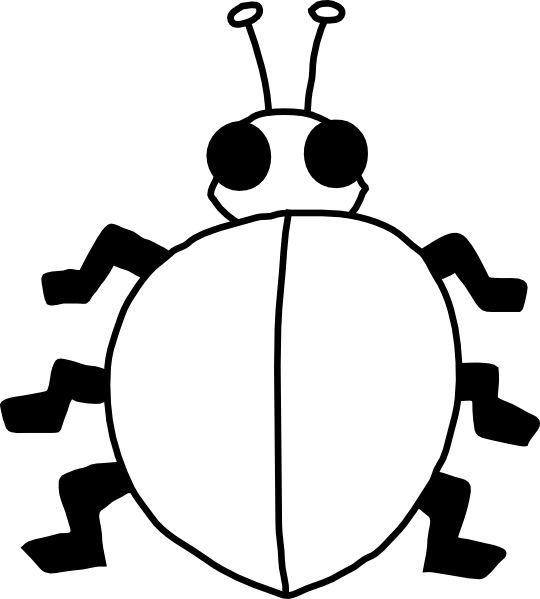
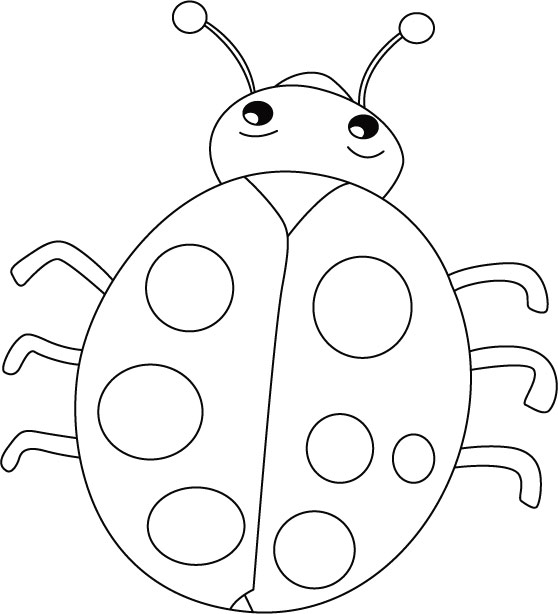
Start with a circle for the ladybug’s body. Add a smaller circle closer to the top of the larger circle for the head. Make sure to leave some space in between the two circles.
Once you’ve drawn the circles, connect them with a curved line. This will form the body of the ladybug. You can adjust the curves to make the bug’s body look more rounded or elongated to your liking.
Step Two: Draw the Legs
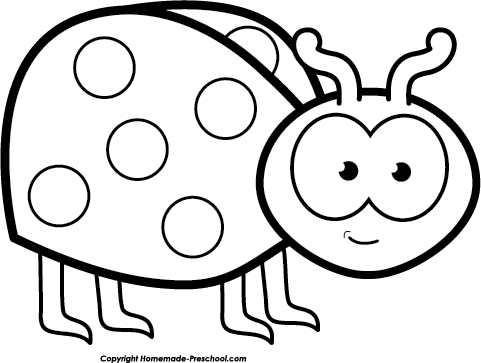
Next, add six legs to your ladybug drawing. Two legs on each side of the body. Make sure to draw them spread out to give the ladybug a stable base.
Step Three: Add the Antennae and Eyes
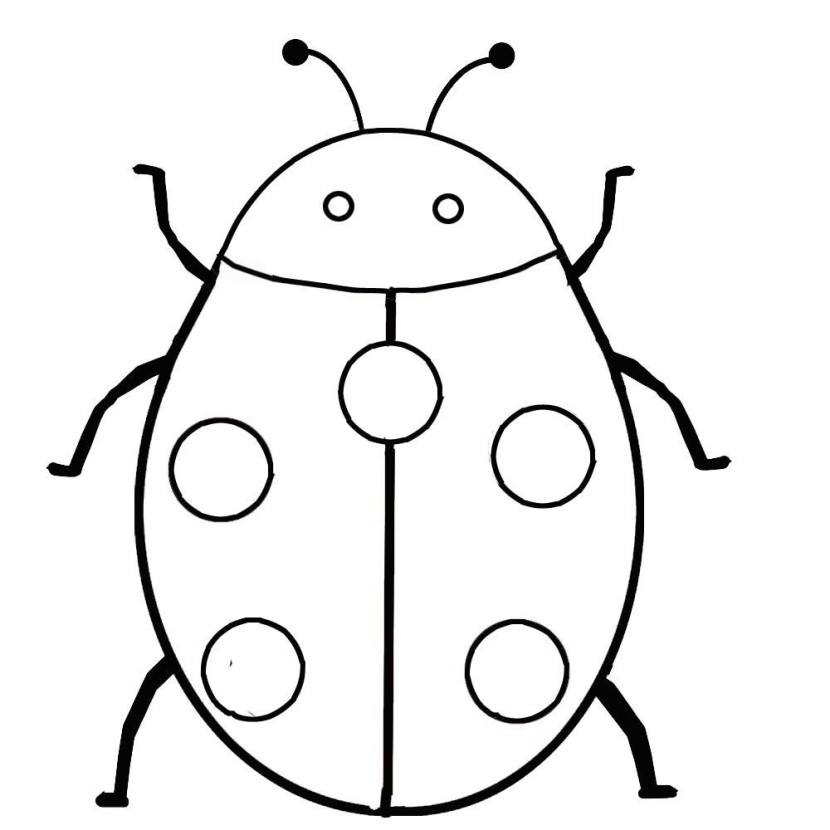
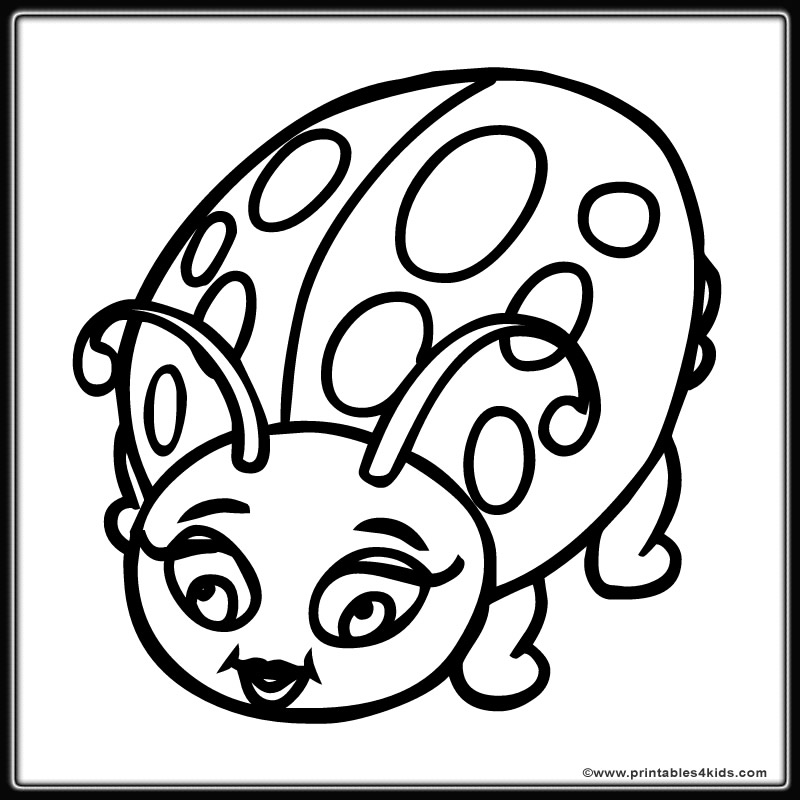
Now let's add the ladybug’s antennae and eyes. Draw two short lines above the ladybug’s head for the antennae. To create the eyes, draw two small circles on the head, with two even smaller circles inside each one. This gives the ladybug a cute and adorable look that we know so well.
Step Four: Add the Details
After adding the eyes and antennae, the next step is to add the ladybug’s iconic black spots. Draw six or so black dots on the ladybug’s back. Make sure to space them out evenly.
You can also add a thin black line down the middle of the ladybug’s back. Along with some curved lines on either side for a more detailed look. You can also add small black dots on the ladybug’s legs for an even more authentic look.
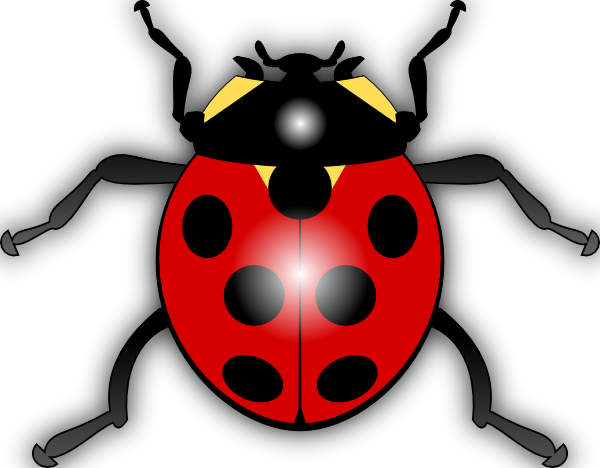
Step Five: Color your Ladybug
Once you’ve completed the step-by-step guide for drawing your ladybug, it’s time to pick up your colored pencils or markers. You can color your ladybug in any color you’d like, but the typical color of a ladybug is red with black spots. You can also get creative and choose from a variety of colors that you prefer.
Drawing a ladybug is easy to follow with the simple step-by-step guide we've provided. Not only is it a great opportunity to practice your drawing skills, but it can also help to relieve stress and improve focus.
You can use your ladybug drawings in many artistic contexts, from coloring pages for kids to detailed artwork and illustrations. Either way, the ladybug drawing will be a fun and cute piece of art that will never go out of style. So grab your pencils and get started today!
56 Ladybug Outline Clipart vector / images. Browse the popular clipart of ladybug outline and get Ladybug Outline Clipart for your personal use. Please share these Ladybug Outline Clipart to your friends if it is useful.


Recent Clipart